Remote LAN Access
- networking
- security
- vpn
- wireguard
- dns
- cloudflare
- unifi
Overview
My home network had evolved over time rather than being designed all at once.
An Asus ZenWiFi system originally handled routing, DHCP and Wi-Fi. After moving home, I introduced a UniFi Cloud Gateway (UCG) Max as the main gateway, but the Asus remained in router mode. That was on me: I was busy with the move and took the quickest path. The result was two separate subnets and unnecessary double NAT.
When I decided to add secure remote access to my LAN, it was a good opportunity to simplify the network first rather than build the VPN on top of the existing architecture.
For the complete, step-by-step configuration, read my Medium post: Refactoring My Home Network and Adding Secure Remote Access with WireGuard.
Architecture
Before

Before: the UCG Max connected to an Asus ZenWiFi router on a separate subnet.
After

After: the UCG Max as the router and the Asus ZenWiFi operating as an access point.
The UCG Max is now the single routing and security boundary for the network, while the Asus system is responsible only for wireless connectivity.
This removed the double NAT, simplified the network and created a cleaner foundation for remote access and future homelab services.
Remote Access
For remote access, I deployed a WireGuard server directly on the UCG Max.
WireGuard clients use a dedicated VPN network.
Home LAN       192.168.1.0/24
WireGuard      192.168.100.0/24
Because both networks terminate on the UCG Max, no additional static or dynamic routing was required. This caught me out at first.
A remote device can now establish an encrypted tunnel and directly access resources on the home LAN.

Remote access from my MacBook to my home LAN through an encrypted WireGuard tunnel.
Dynamic DNS
My ISP provides a dynamic public IPv4 address, so pointing WireGuard directly at the current IP would eventually break remote access.
I configured Dynamic DNS on the UCG Max using Cloudflare and a dedicated DNS record:
VPN domain name (vpn.home.example.com)
          │
     Cloudflare DNS
          │
 Dynamic Public IP
          │
       UCG Max
Hostnames and public IP addresses shown in this article have been anonymised.
The gateway automatically updates the DNS record whenever its public IP changes, giving WireGuard clients a stable endpoint without requiring a static IP from the ISP.
I restricted the Cloudflare API token to DNS management for the relevant zone instead of using a global API key. This token is the only secret required for the integration.
Validation
I tested the setup from my MacBook connected through my mobile hotspot, ensuring the test traffic was genuinely coming from outside the home network.
The WireGuard handshake completed successfully and the remote client could reach both the VPN gateway and devices on the LAN.
MacBook
192.168.100.2
      │
      │ WireGuard
      ▼
UCG Max
192.168.100.1
      │
      ├── 192.168.1.1   UCG Max
      └── 192.168.1.2   Network infrastructure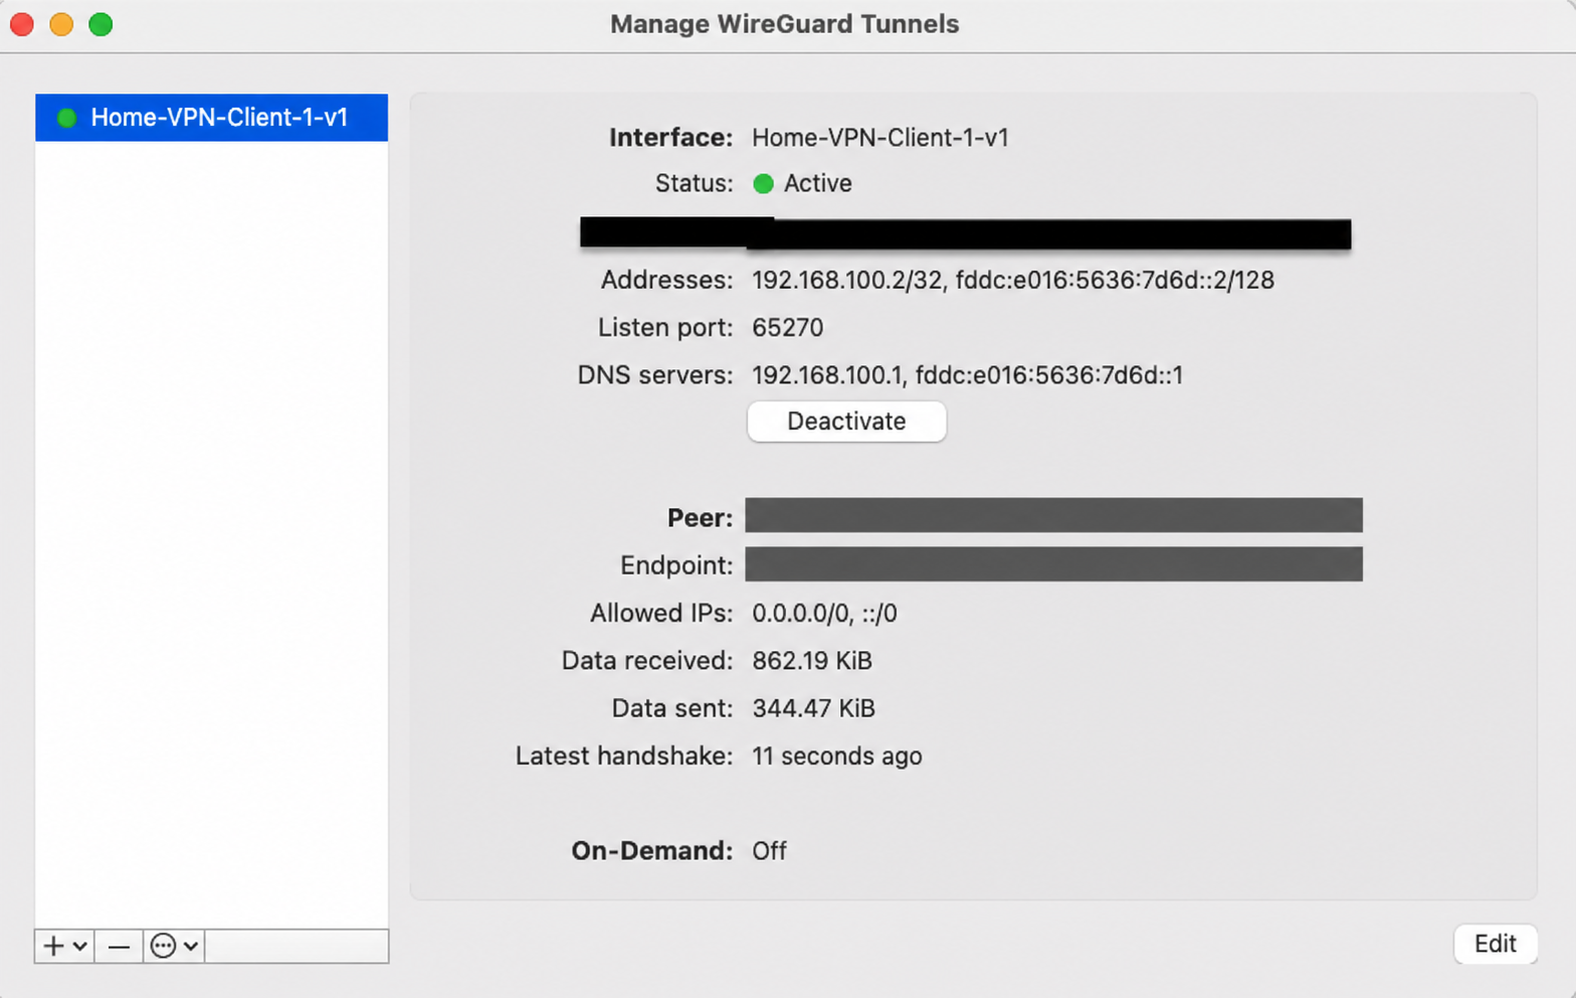
WireGuard tunnel active with a recent successful handshake. Sensitive connection details have been redacted.
What I Learned
The most useful part of the project was not configuring WireGuard itself, but simplifying the architecture around it.
A few takeaways:
-
Fixing unnecessary complexity before adding another service made the VPN considerably easier to reason about.
-
A VPN subnet directly connected to the same gateway as the LAN does not require an additional static route, OSPF or BGP configuration.
-
Dynamic DNS is important when exposing a VPN endpoint from a residential connection with a changing public IP.
-
WireGuard’s
AllowedIPssetting controls more than access to remote networks — it also determines which traffic is routed through the tunnel.
That final point led naturally to the next part of the project.
What’s Next
The current setup provides the foundation for a few additional improvements:
-
Separate split-tunnel remote access from full-tunnel VPN profiles.
-
Create an Ireland exit VPN for use while travelling.
-
Configure a travel router to automatically establish the tunnel.
-
Introduce dedicated Server and Security Lab VLANs as the homelab grows.
-
Further restrict VPN access through firewall policies.
Status: Remote LAN Access ✓ · Dynamic DNS ✓ · Ireland Exit VPN → Next